Cloud Customer Area
This documentation for the Cloud Customer Area plugin for WordPress allows you to customize all features.
To get professional support you need to make a donation to get the PRO version of the plugin.
Frontend + Cloud
Configuration
How to create credentials and connect Google Drive to the plugin:
- Go to the link https://console.cloud.google.com/ and log in with your Google account;
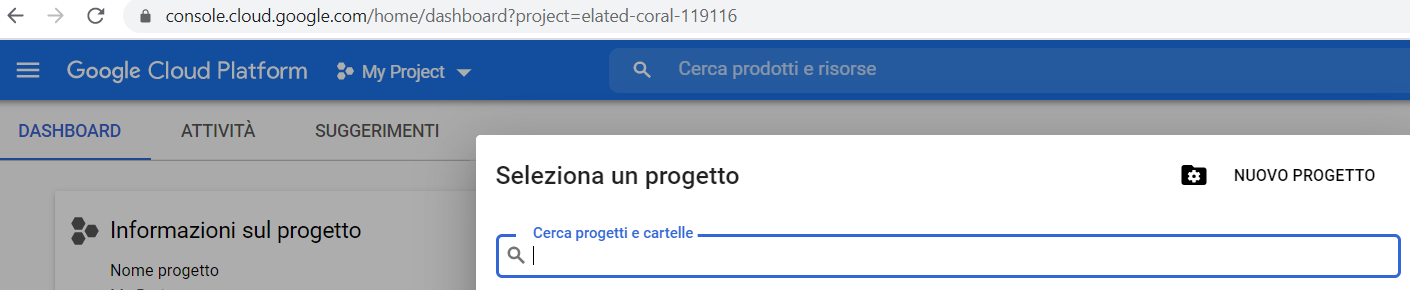
- Create a new project (screen 1);
- From the “Dashboard” tab of the created project, click on the “API and Services” button (at the top next to the title) and add “Google Drive API” (screen 2);
- From the “OAuth consent screen” tab of the created project, click on the “Publish the app” button in the “Publication status” section;
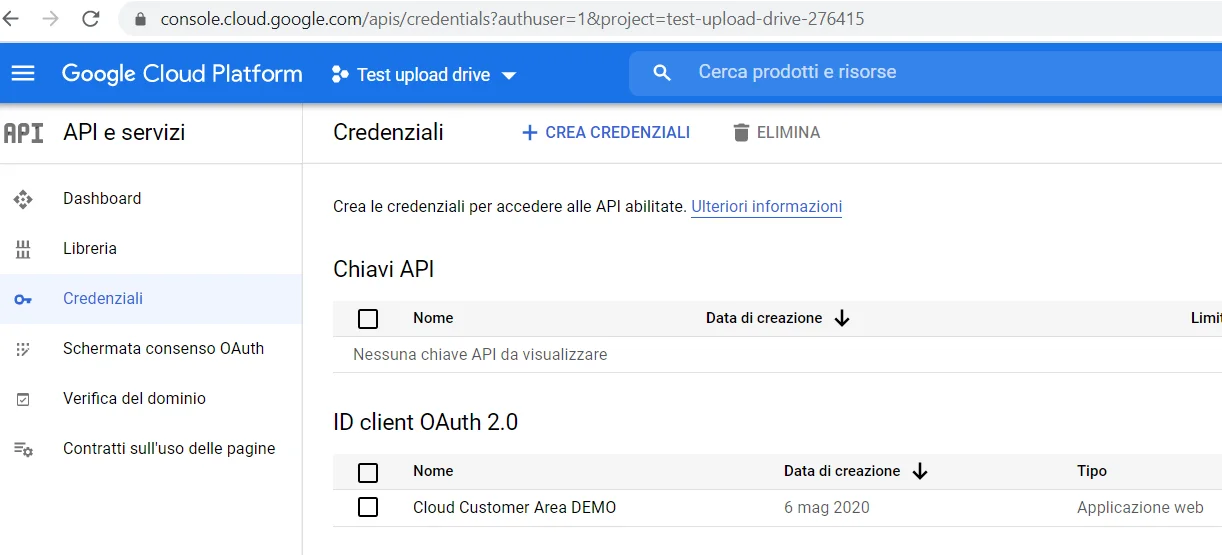
- From the “Credentials” tab of the created project, click on “Create credentials” (at the top next to the title)> “OAuth client ID” (screen 3);
- Add in “Authorized redirect URI” the url you find in the “API Google Drive” page of the plugin settings (screen 4);
- Copy the “Client ID” and “Client secret” you just obtained and enter them in the “API Google Drive” page of the plugin settings;
- Save the changes and the “Connect to Google Drive” button will appear (screen 5);
- Click the “Connect to Google Drive” button and proceed with the authorization (if the browser reports the unsafe page click on advanced / next / proceed or similar) and you should be redirected to the plugin settings page which will now show “Access Token “and the connection successful tick (screen 6);
If after the attempt to connect to Google Drive a “Server Error 403 Forbidden” screen is returned (due to the return url which, being full of parameters, can be mistaken for a hacker attack) try one of the following solutions:
- Some security plugins installed on the site block the request (disable the plugin or enter the url to the whitelist);
- If the server uses an administrative panel (Plesk / Cpanel / etc ..) you must disable ModSecurity (on Plesk: “Tools and settings”> “Security”> “Web Application Firewall (ModSecurity)”);
If none of the solutions avoid the “Server Error 403 Forbidden” error screen, you may need to ask the hosting provider.

Screen 1 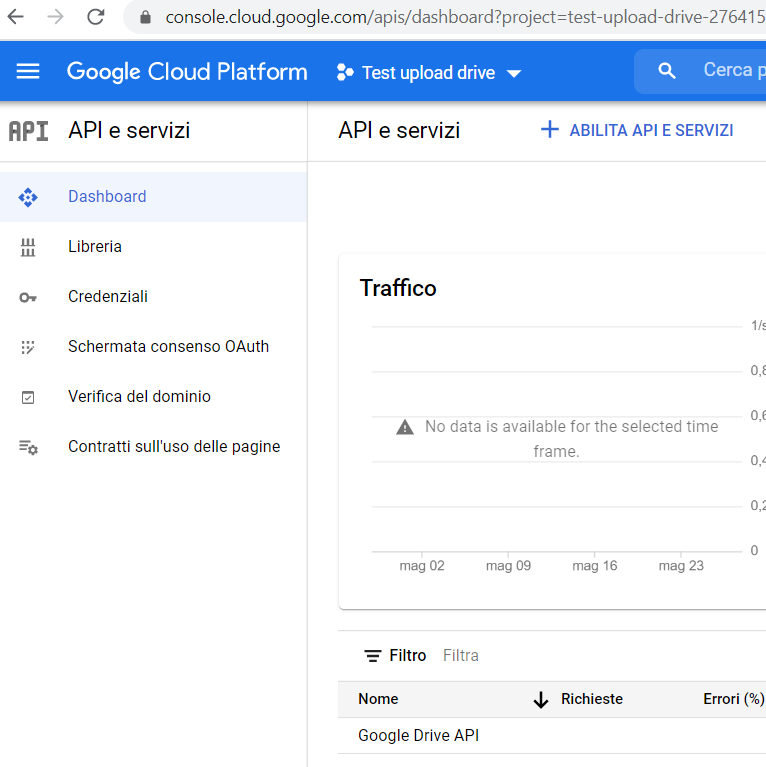
Screen 2 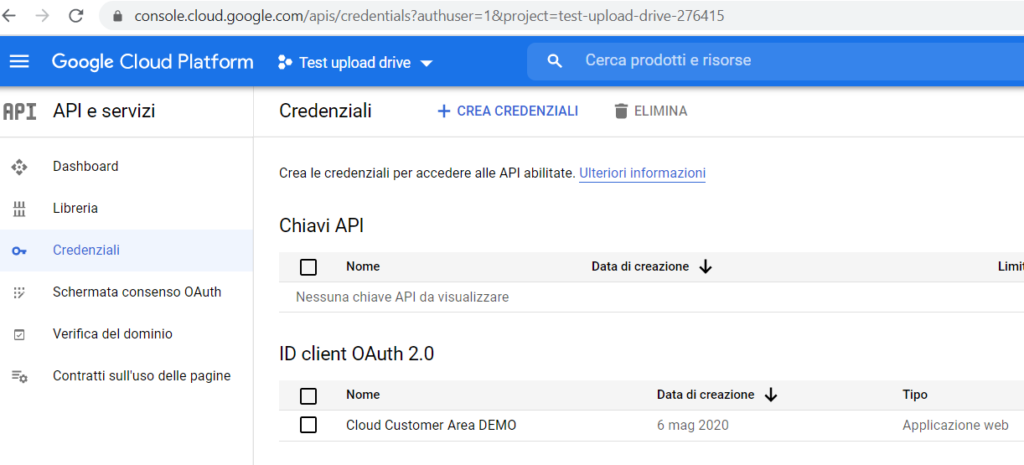
Screen 3 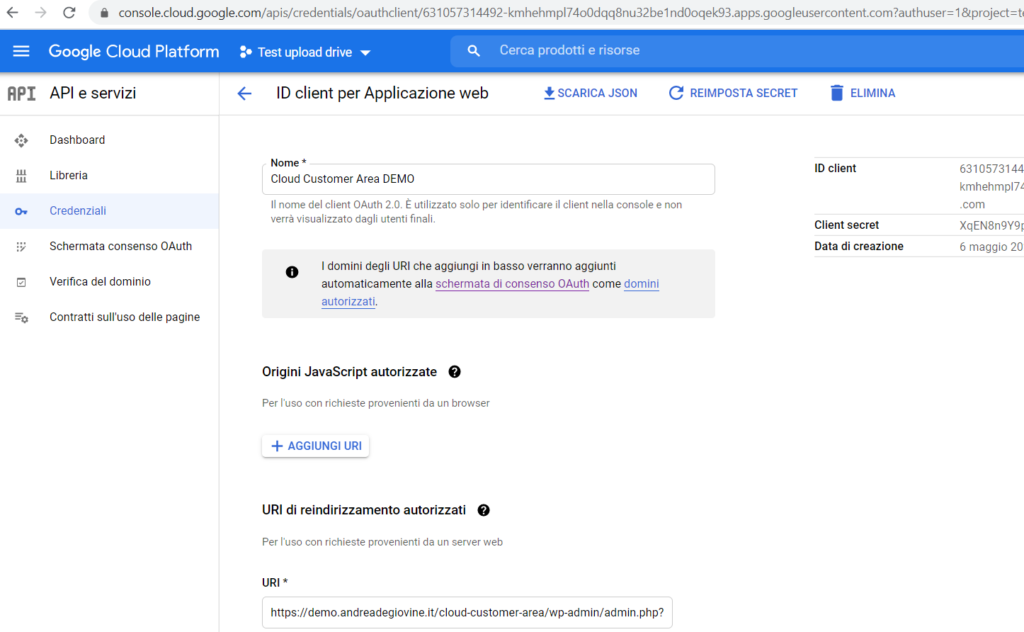
Screen 4 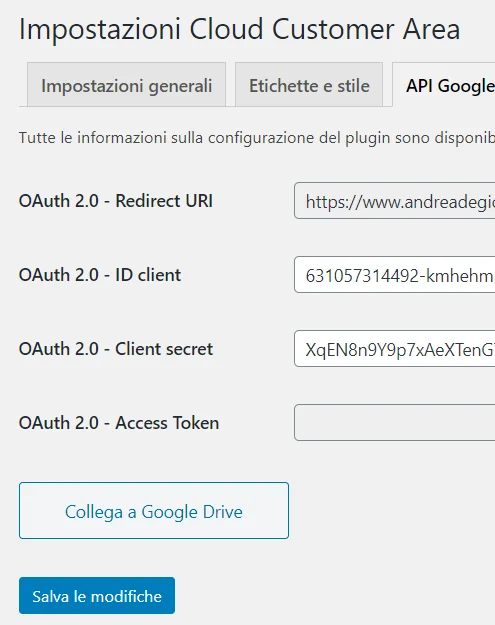
Screen 5 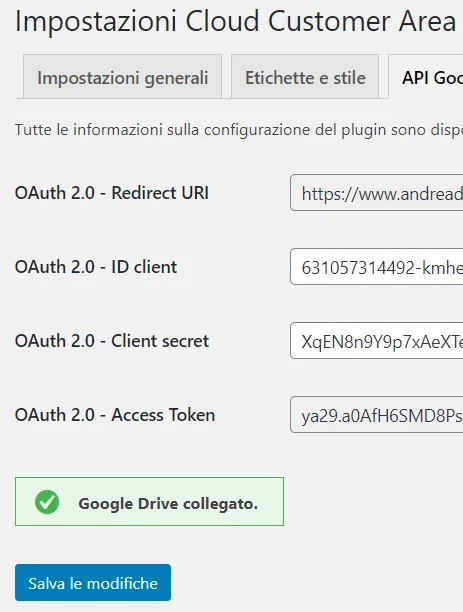
Screen 6

Hooks
Add / remove file types for upload:
add_filter('cloud_customer_area_mime', function($files_mime){
    /*
    $files_mime = [
        'image' => ['.jpg', '.jpeg', '.png', '.gif'],
        'video' => ['.mp4', '.3gp', '.mov', '.avi'],
        'document' => ['.pdf', '.doc', '.docs'],
        'archive' => ['.zip', '.rar', '.tar'],
    ];
    */
    $files_mime['image'][] = '.webp';
    return $files_mime;
});
In the example above, support for the “webp” format has been added for uploading images.

